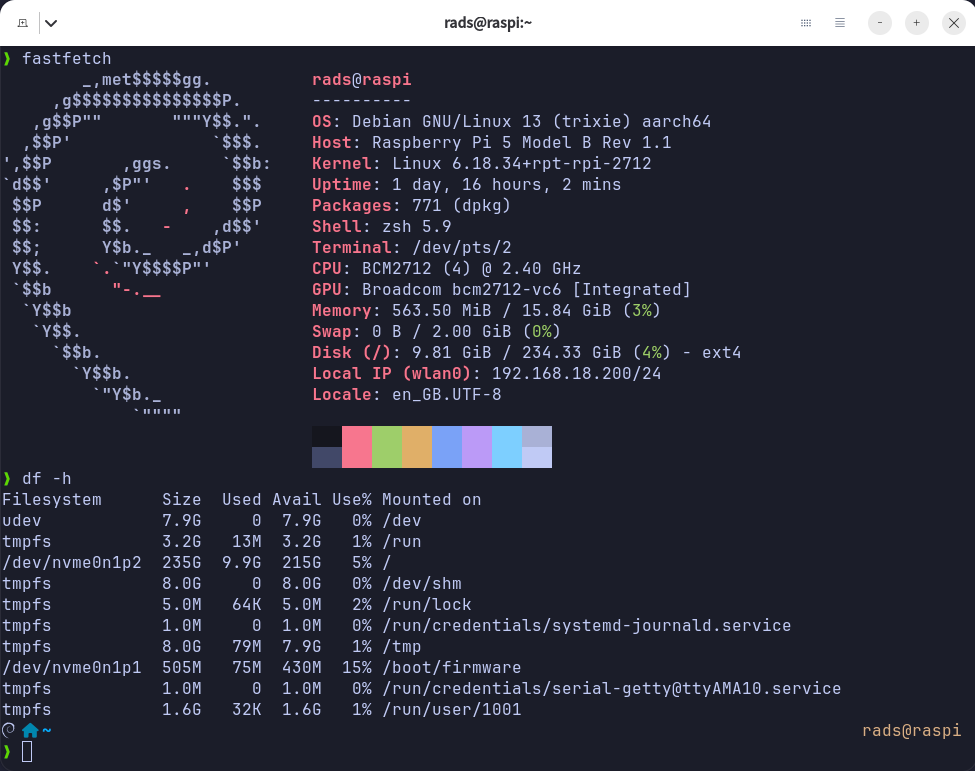
For SBCs like Raspberry Pi and similar boards, I always go with the lite OS version.
No window manager.
No GUI.
Or, as it’s more commonly known: headless. Just a terminal and SSH access.
I don’t even bother with VNC.
My Raspberry Pi 5 that runs Picar-X is set up the same way:
16 GB RAM with a Samsung 32 GB microSD card.
Completely headless. My assumption was that removing the GUI would reduce overhead and make processing more efficient.
However, I noticed that some autonomous movements occasionally become jerky or stutter. My main suspect is the microSD card becoming the bottleneck.
The Raspberry Pi 5 comes with PCIe support for NVMe drives, and from a previous post, I already got a pretty cheap 256 GB Gen 4 NVMe 2230 SSD.
Time to install it.
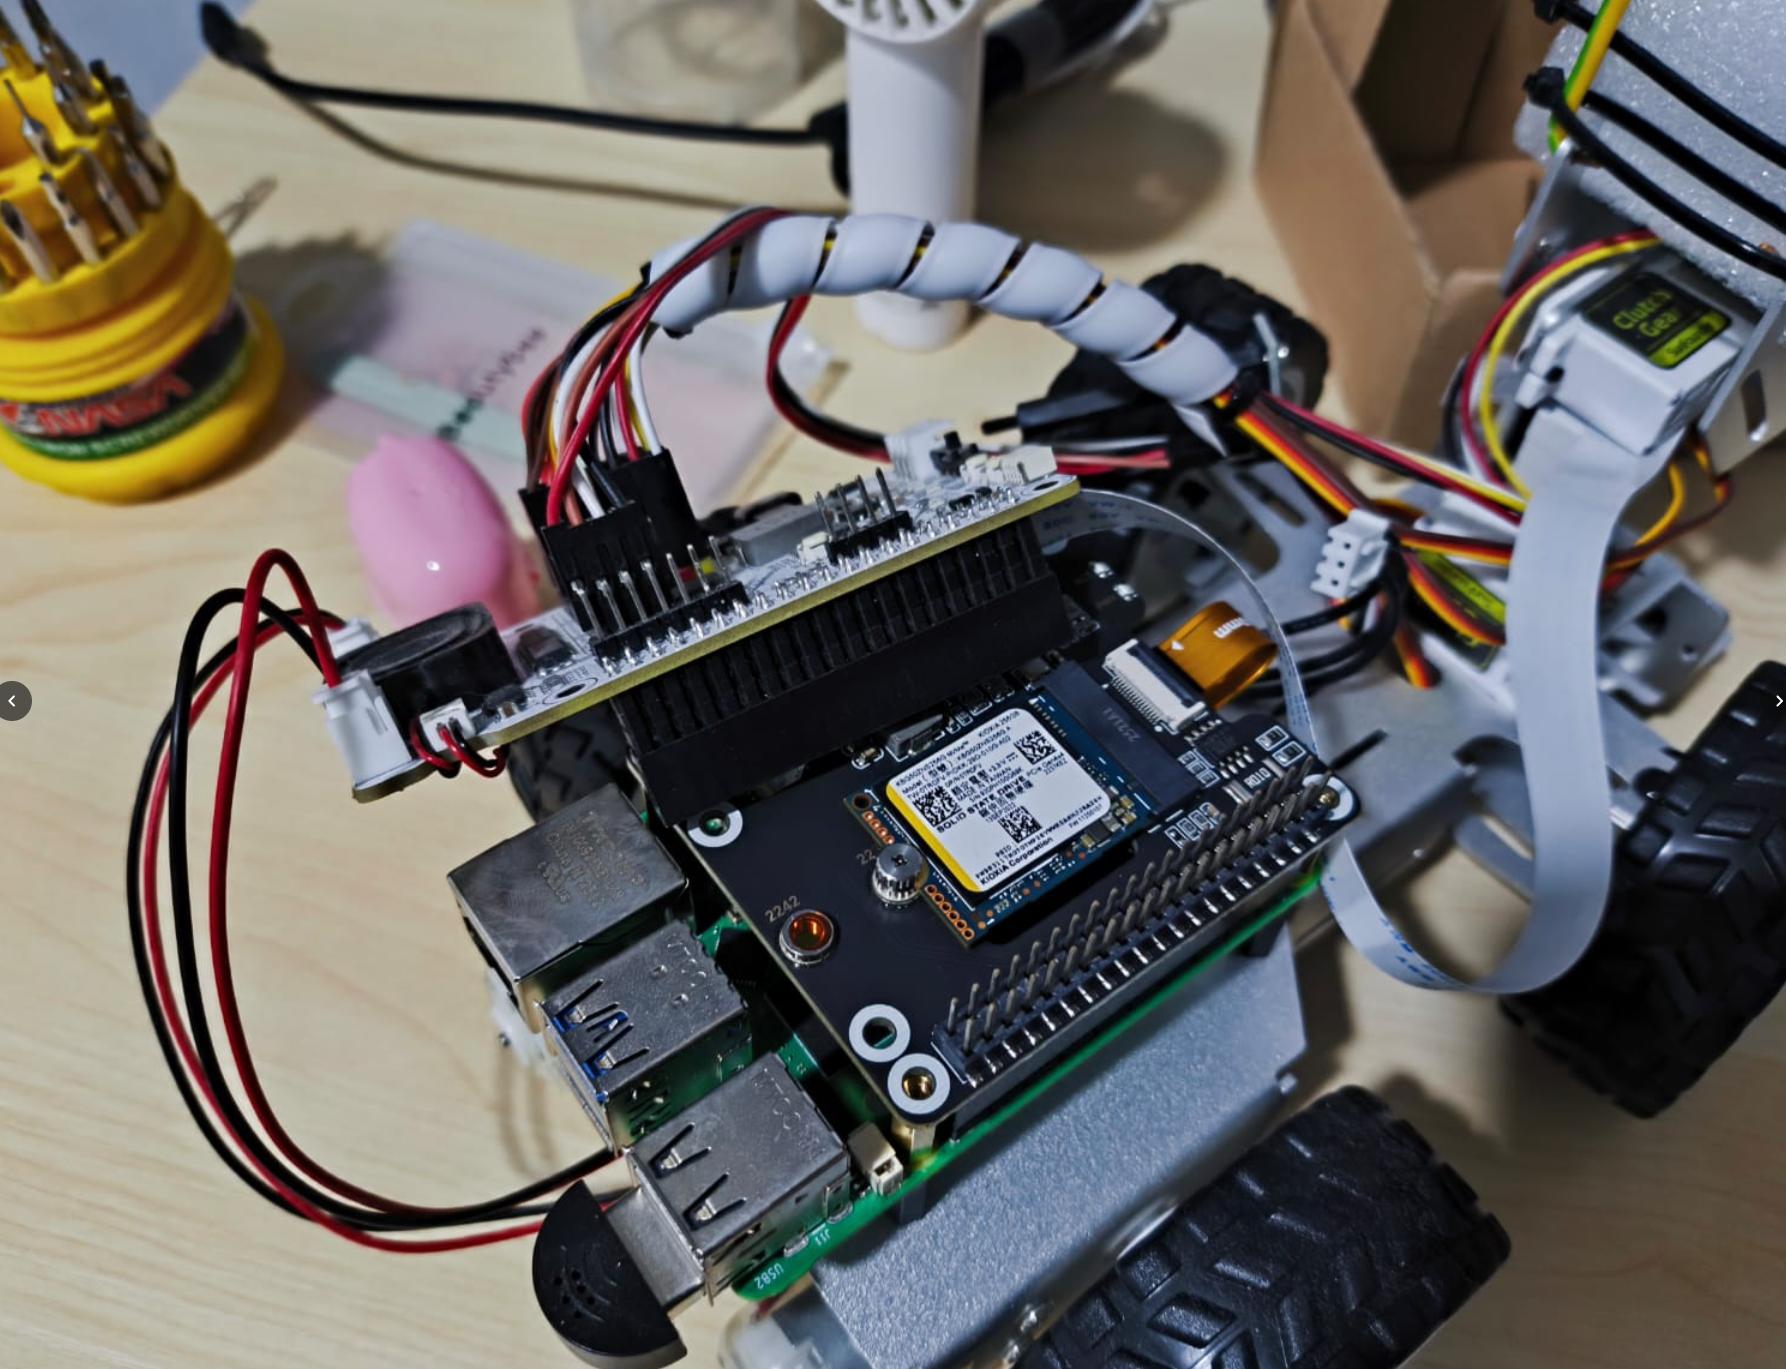
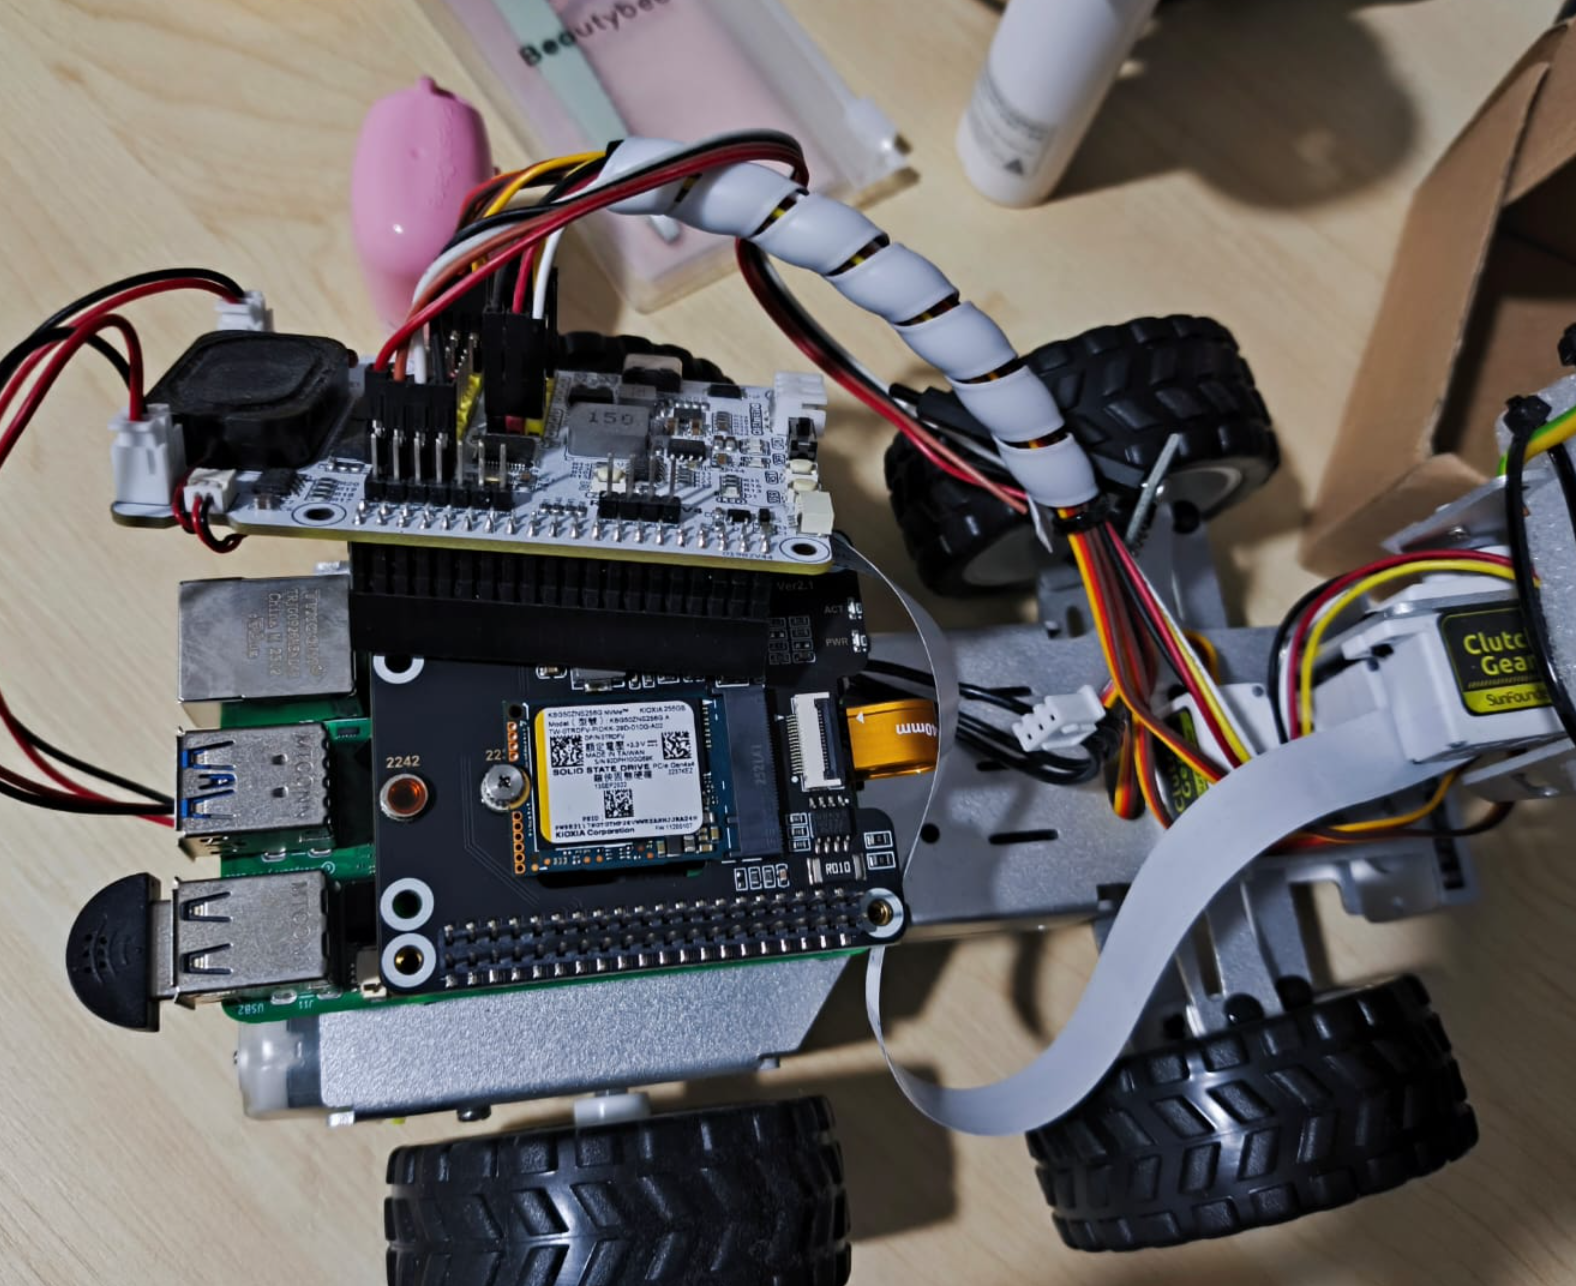
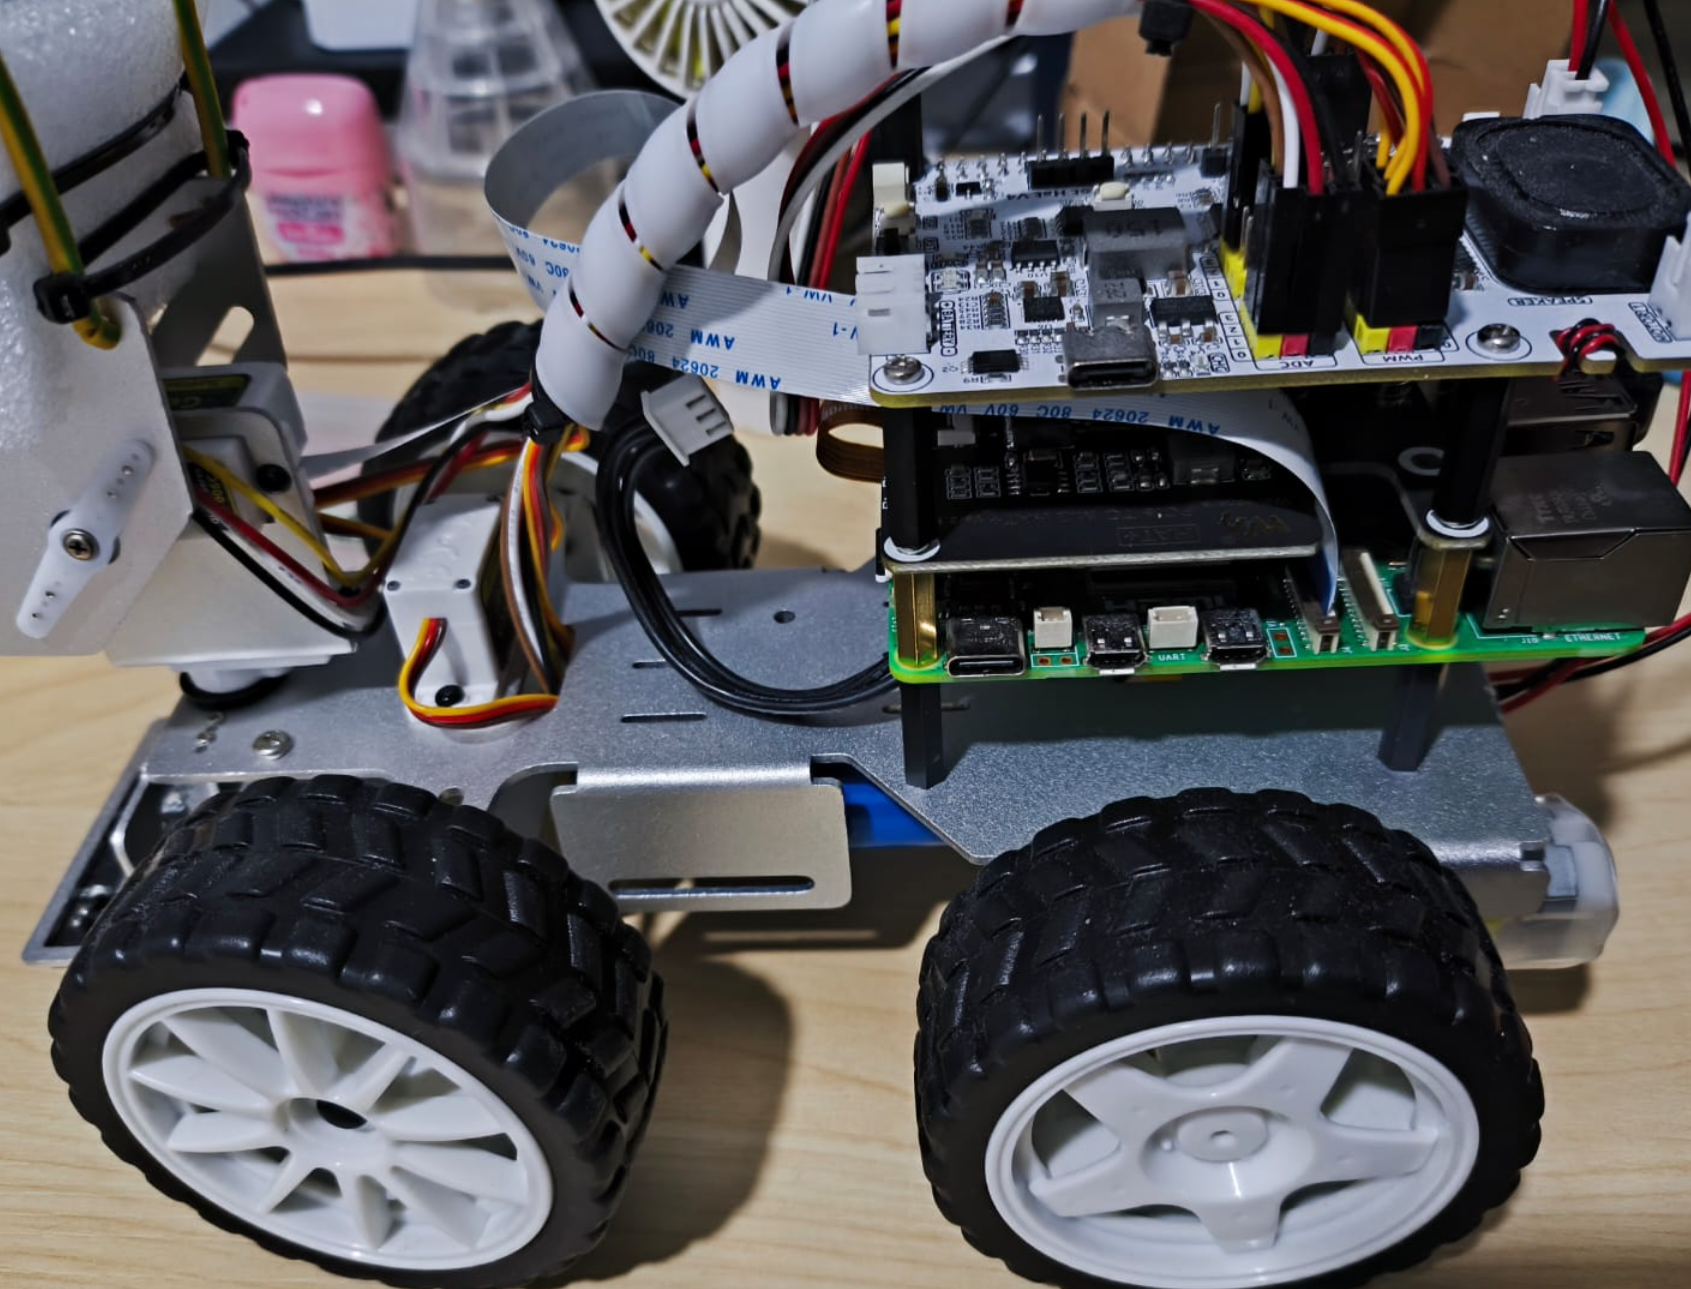
As planned from the beginning, the Raspberry Pi 5 will be installed and run completely headless.
After some Googling, I found that most guides about using NVMe on a Raspberry Pi rely on desktop mode during installation, or at least a headless setup with VNC.
This one is an example.
That actually makes sense because in newer Raspberry Pi images (not sure exactly when this started), the default pi:raspberry username and password no longer exist. The username and password are now defined through rpi-imager. Unfortunately, this setting is only available in the GUI version, not in the CLI.
This is the Raspberry Pi OS Lite image I’ll be using:
Lite OS 2026.06.18 trixie 64 bit
Release date        18 Jun 2026
System              64-bit
Kernel version      6.18
Debian version      13 (trixie)
Download size       501 MB
Storage required    2,840 MB
So the possible scenarios are:
- If you have an NVMe reader, just install rpi-imager on your desktop and do everything through the GUI. Easiest option.
- If you don’t have an NVMe reader and the NVMe is already attached to the Raspberry Pi:
a. If you’re running Raspberry Pi Desktop OS and have a monitor, keyboard, and mouse, just use the rpi-imager GUI. Easy!
b. Same as (a), but without a monitor, keyboard, or mouse: install VNC and use the rpi-imager GUI through a VNC client. Still pretty easy.
c. If you’re using the Lite OS without a desktop environment: that’s my use case.
Without an NVMe reader, I installed the NVMe directly through the HAT and booted from the microSD card (Lite OS).
First thing I did was Google around, then switched to AI mode to get a better idea of what was possible.
Boot the Raspberry Pi using the microSD card.
Install rpi-imager.
Install Raspberry Pi OS through the CLI:
sudo rpi-imager --cli <path-to-image> <device-path>
# example, in my case
# sudo rpi-imager --cli ./2026-06-18-raspios-trixie-arm64-lite.img.xz /dev/nvme0n1
At this point, prepare the username/password for your Pi, your Wi-Fi SSID/password, or an Ethernet connection.
This was the answer I got from Google AI mode:
The Raspberry Pi Imager CLI does not have direct flags for SSH and WiFi; instead, it uses the
--first-run-scriptoption to execute a bash script that configures the device on first boot.To set this up, you must create a bash script (e.g.,
firstrun.sh) on the boot partition of the SD card containing the following commands:#!/bin/bash set +e systemctl enable ssh echo "pi:raspberry" | chpasswd /usr/lib/raspberrypi-sys-mods/imager_custom \ set_wlan 'my_wifi_ssid' 'my_wifi_password' 'GB' rm -f /boot/firstrun.sh sed -i 's| systemd.run.*||g' /boot/cmdline.txt exit 0You must then append
systemd.run=/boot/firstrun.sh systemd.run_success_action=reboot systemd.unit=kernel-command-line.targetto the cmdline.txt file on the boot partition. Note:cmdline.txtrequires all options to be on a single line separated by exactly one space. Ensure you replace'my_wifi_ssid','my_wifi_password', and'GB'with your specific network details.
Alright, let’s stop there for a moment.
TIL: apparently, we can run a script to configure the Raspberry Pi during its first boot.
The script can even remove itself from cmdline.txt afterward. That’s great news.
But…
The script above doesn’t make much sense. Modern Raspberry Pi OS no longer includes the pi user. Shouldn’t the user be created first?
Still, nothing to lose, so I gave it a shot.
- Mount the boot partition (the first partition on the NVMe created by rpi-imager).
- Create the
firstrun.shscript above. - Edit
cmdline.txt. - The default BOOT_ORDER on my Raspberry Pi is
0xf461(check here and here). That means the Pi will try to boot in this order: microSD, NVMe, then USB. So I simply powered it off, removed the microSD card, and powered it back on. The Raspberry Pi should boot from the NVMe.
And…
It failed, exactly as I expected.
But the good news was that firstrun.sh actually got executed. So all I needed to do was replace it with a better version:
#!/bin/bash
set +e

# 1. Enable SSH
systemctl enable ssh

# 2. Define your desired username and password
USERNAME="newuser"
PASSWORD="your_secure_password"

# 3. Create user if it doesn't exist, then set password and shell
if ! id "$USERNAME" &>/dev/null; then
    adduser --disabled-password --gecos "" "$USERNAME"
fi
echo "$USERNAME:$PASSWORD" | chpasswd
usermod -s /bin/bash "$USERNAME"
usermod -aG sudo "$USERNAME"

# 4. Set WiFi
/usr/lib/raspberrypi-sys-mods/imager_custom \
    set_wlan 'my_wifi_ssid' 'my_wifi_password' 'ID'

# 5. Cleanup
rm -f /boot/firstrun.sh
sed -i 's| systemd.run.*||g' /boot/cmdline.txt
exit 0
Just replace USERNAME, PASSWORD, my_wifi_ssid, my_wifi_password, and ID with your own values.
And… The iterative sequences.
- Put back the microSD
- No need to re-image using rpi-imager, mount the 1st partition of NMVe.
- Add
firstrun.sh, editcmdline.txt - Poweroff, remove the microSD.
- Poweron!
It worked like a charm.
I expected the whole process to be complicated and time-consuming, but it turned out to be surprisingly simple.
My Raspberry Pi is now running entirely from NVMe!